TRY IT ON THIS PAGE
Realistic AI Image Generator
Write one prompt and run it across every model this page recommends — the Realistic AI Image Generator studio below starts with them pre-selected. Results land side by side on the same credit balance, and free credits cover your first runs.
Google Nano Banana Pro
36 credits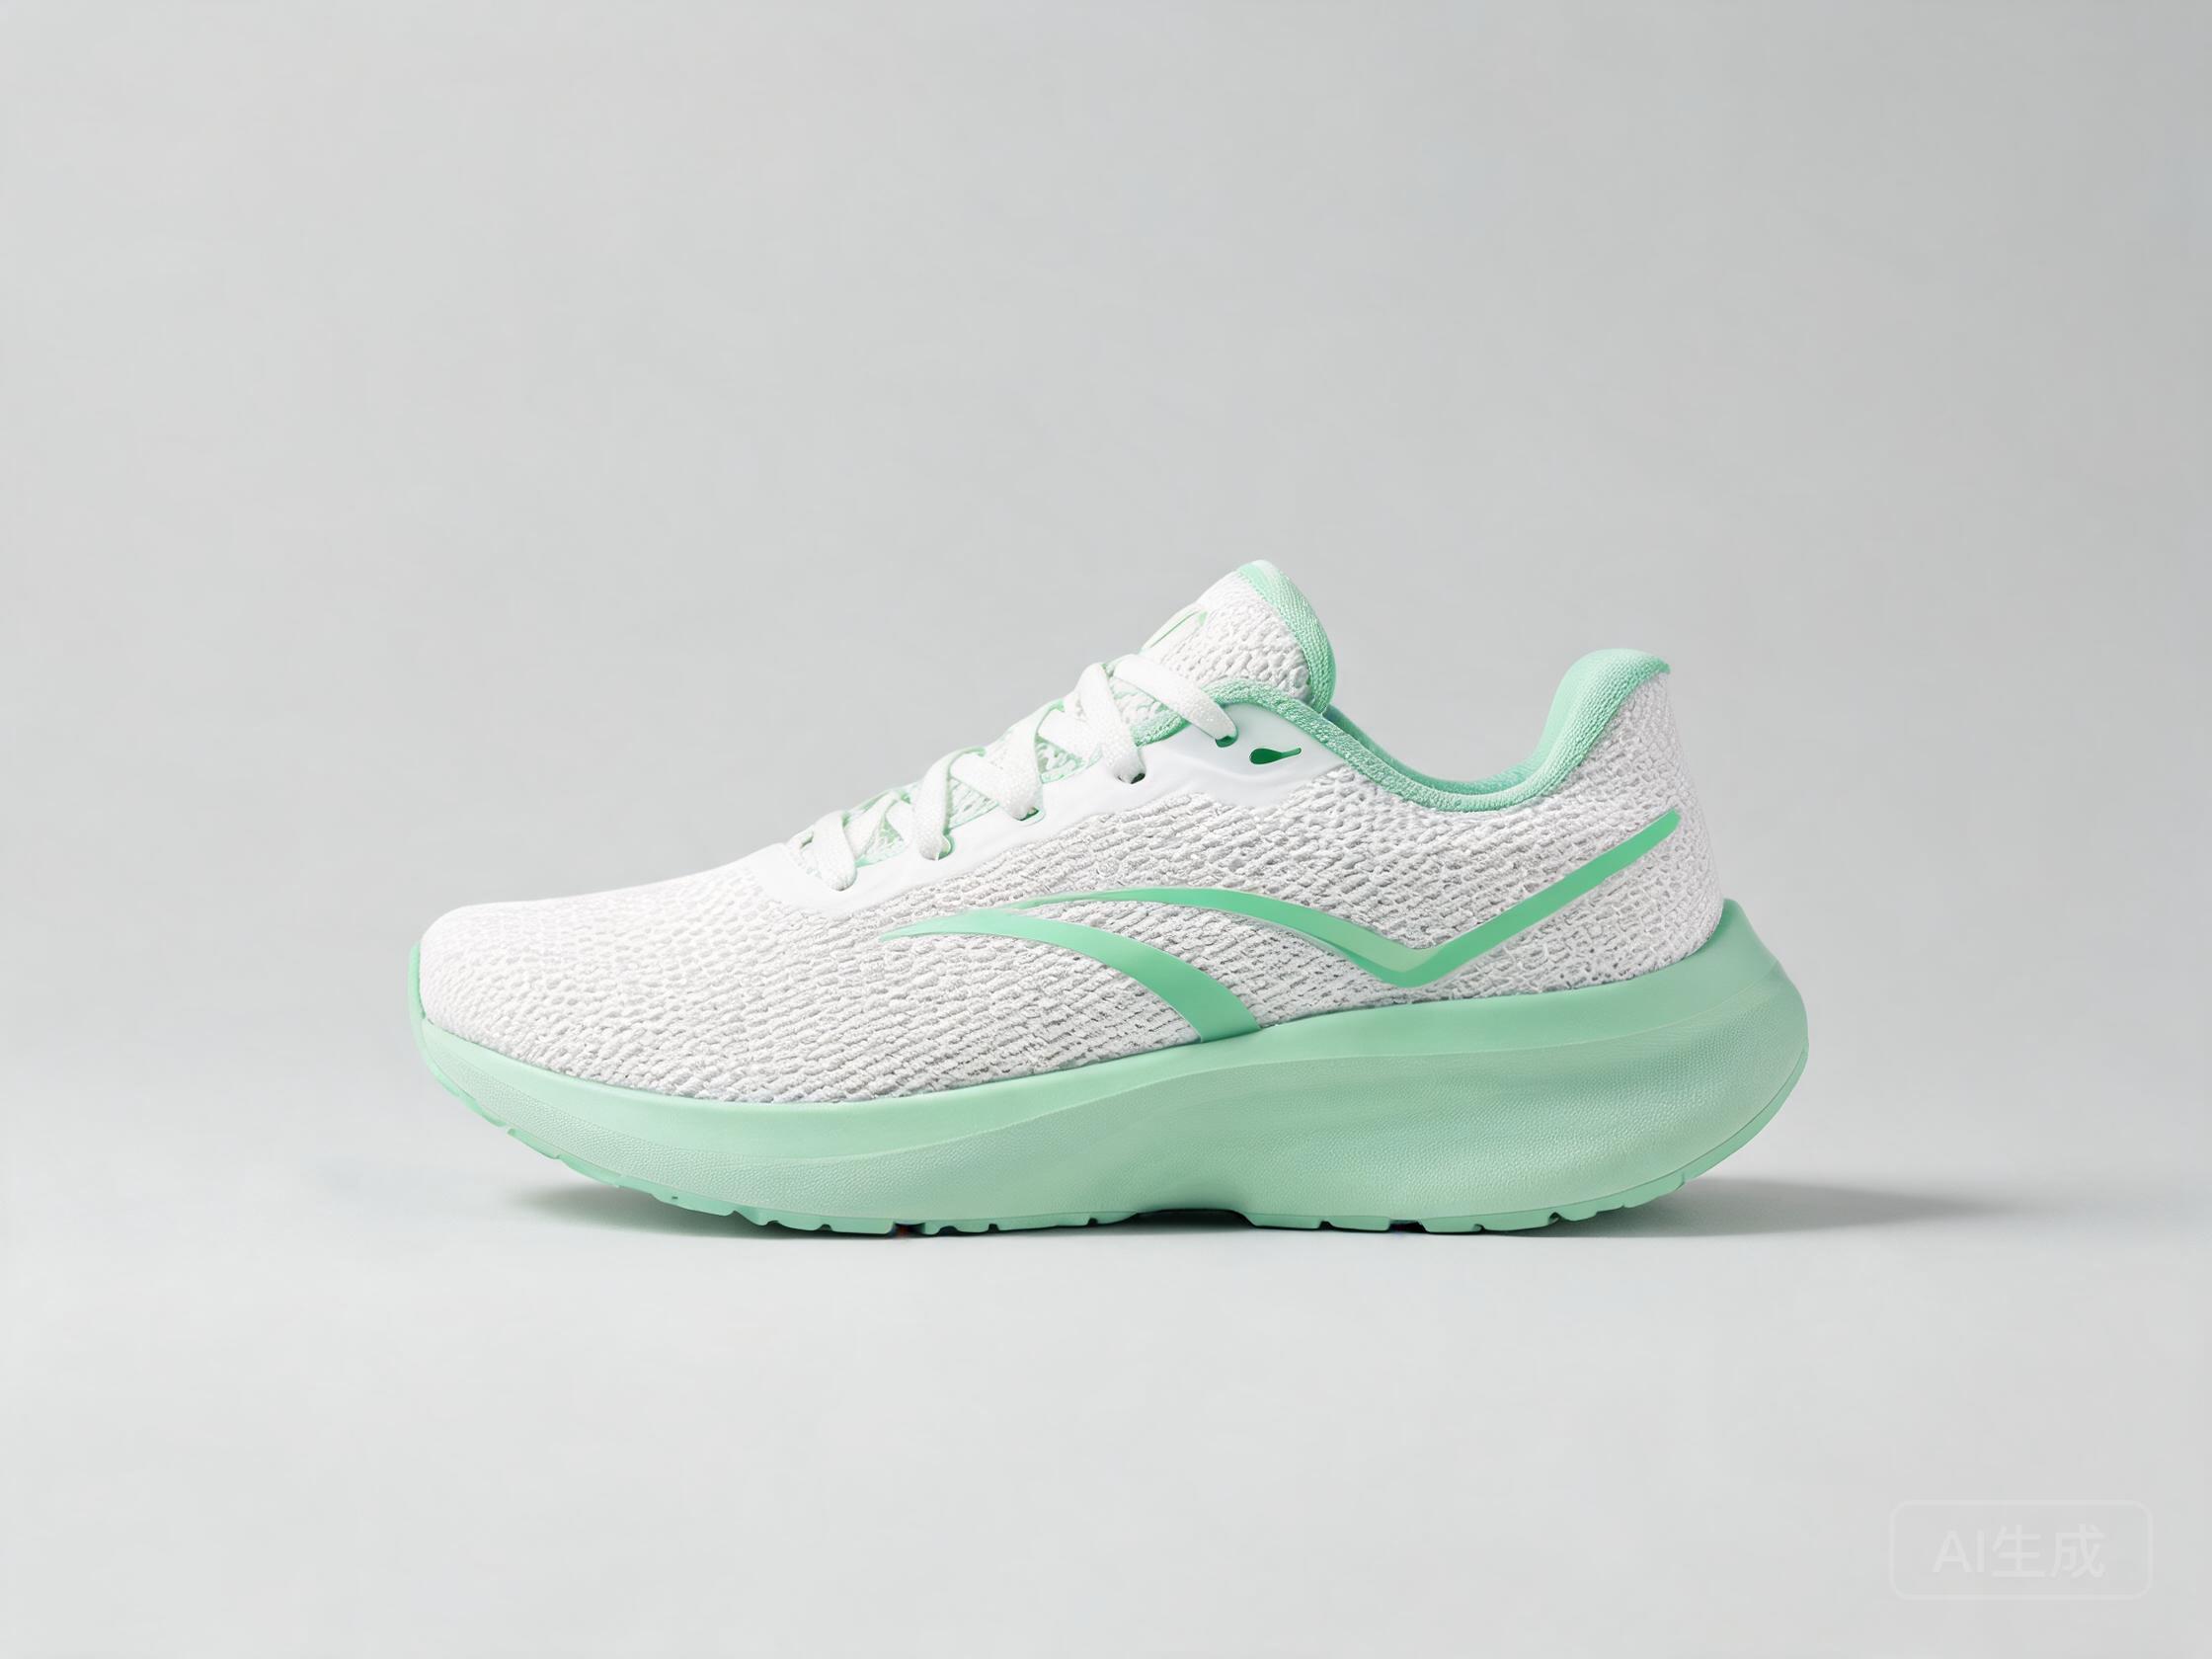
Google Imagen 4
10 credits
Krea 2 Large
15 credits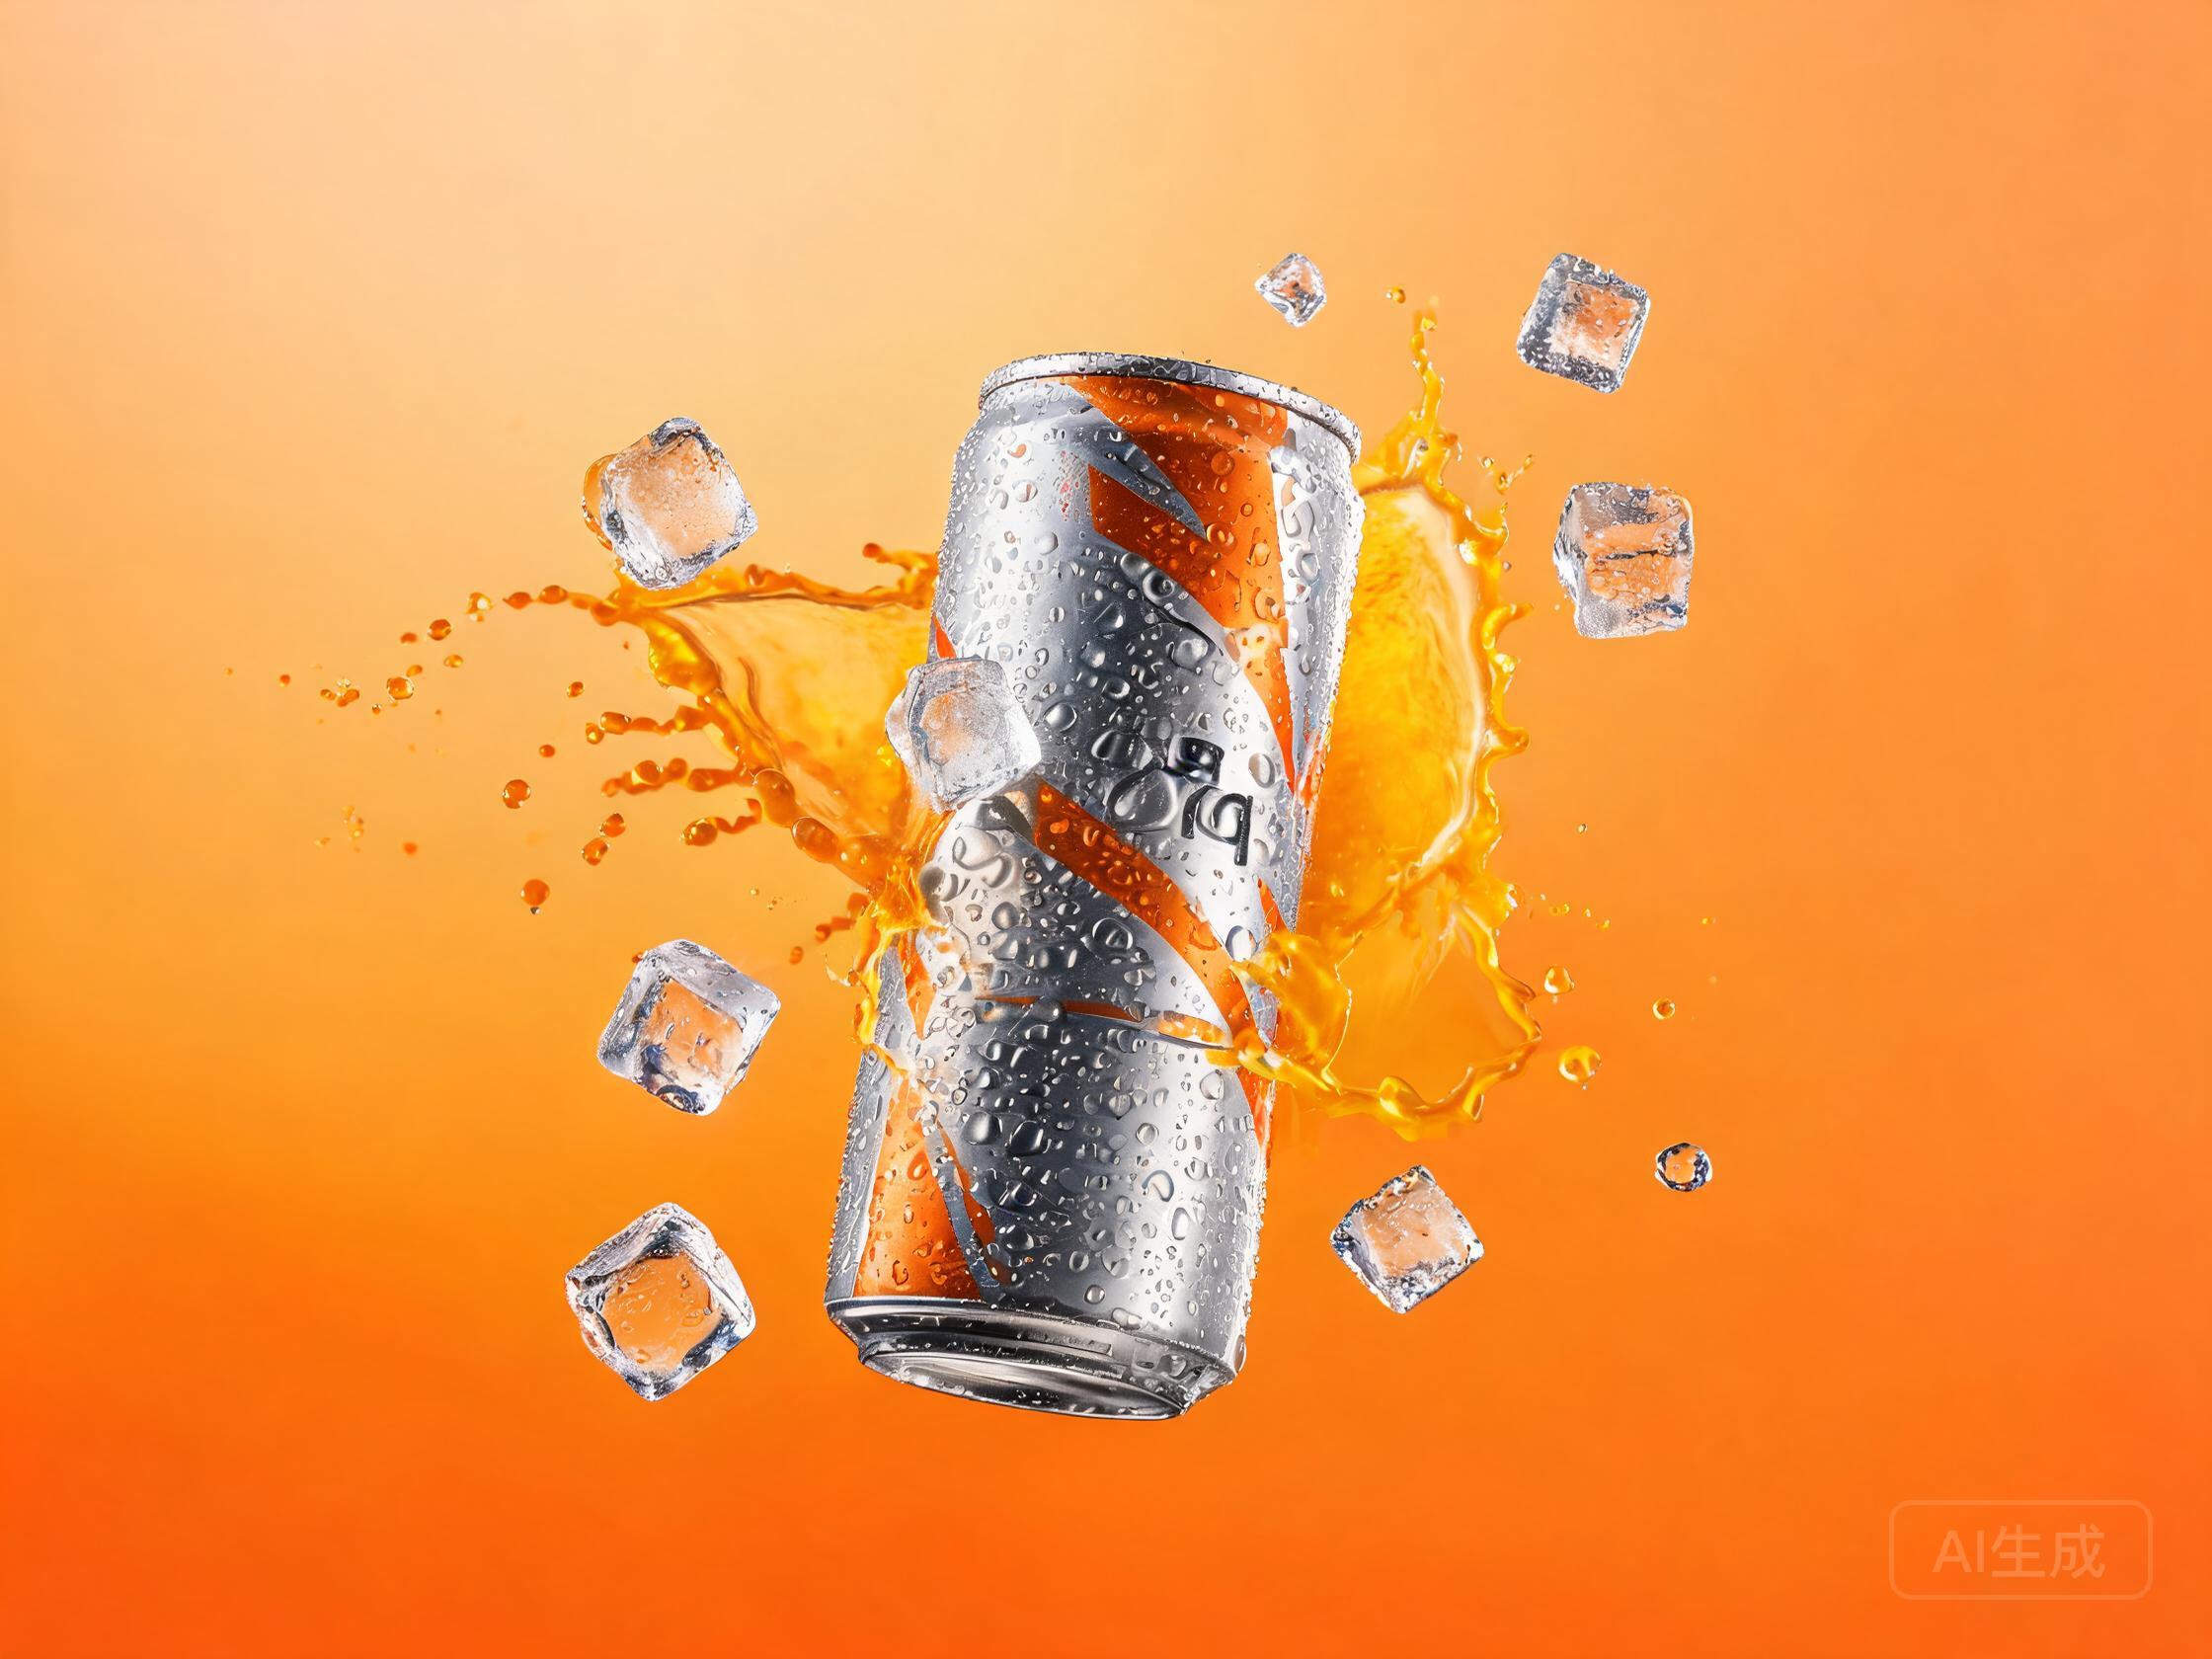
A realistic AI image generator does not just render a scene — it renders one that survives a second look. The difference between "AI-looking" and photographic is almost never the model alone: it is camera language in the prompt, the right model for the subject, and the discipline to compare. UnitPic runs your prompt across the strongest photoreal models side by side — Nano Banana Pro, Imagen 4, Krea 2 — so "which is most realistic" stops being a forum argument and becomes something you can see in one screen.
Every new account starts with free credits — no card required — so you can test the full workflow before paying anything. Photorealism is also the style with the least forgiving failure modes: a wrong hand or a melted reflection is obvious instantly. Everything below is about closing that gap — camera vocabulary, the models that render it best, and the tells to check before you commit.
Published September 22, 2026 · Updated September 27, 2026
STEP 1
Write camera language, not adjectives
Say how the picture was taken: focal length, light source, depth of field, film stock. A realistic AI image generator responds to "85mm portrait, window light from the left, shallow depth of field" far more reliably than to "very realistic, high quality" — the first is an instruction, the second is a hope.
STEP 2
Run the photoreal leaders side by side
Send the same prompt to several strong models at once. Skin texture, light falloff and material detail differ sharply between them, and seeing the outputs next to each other is the only honest way to judge which suits your subject.
STEP 3
Judge the tells before you commit
Zoom in on hands, reflective surfaces, signage text and repeating textures. Those are where photoreal images break. Running two or three models and picking the frame without a visible tell beats retrying one model until you get lucky.
What Reddit says about realistic generators
Ask a photography forum which engine is the most realistic AI image generator and you get an argument, not an answer — but a few models consistently top the threads. The Nano Banana family and the FLUX line are the names that recur most in recent community discussion, and the disagreements are usually about emphasis rather than quality: one is praised for skin texture and portraits, another for light and atmosphere, a third for getting small text right.
That pattern is more useful than any single recommendation. It means the leaders are close enough that the difference has moved from "which is best" to "which is best for this subject" — portraits, product shots and landscapes do not reward the same engine. Rather than pick a side from a thread, run your own prompt through two of them and look: Nano Banana Pro vs Nano Banana 2 and FLUX.2 Pro vs Nano Banana Pro are the two pairings that come up most often.
Prompt like a photographer
Four elements carry almost all of the realism, and none of them are adjectives. Focal length frames the shot and implies the distance to the subject — 85mm for a head-and-shoulders portrait, 35mm for street work, a macro length for product detail. Light decides the mood and is the single highest-leverage word in the prompt: window light, golden hour, one hard key light, softbox. Film feel adds the grain and color response that reads as photographic rather than rendered, described by stock characteristics rather than a brand name. Depth of field separates subject from background and is the tell that most immediately says "camera".
The upgrade is easiest to see as a before and after. A weak prompt reads "a realistic photo of a chef" — the model has no light, no lens and no framing, so it invents something generic. The same idea written as a photographer would stage it: "85mm portrait of a chef in a dim kitchen, window light from the left, flour dust in the air, shallow depth of field, Kodak Portra 400 look". Every added clause removes a decision from the model and hands it back to you.
This is why prompt craft does more for realism than model shopping. The strongest realistic AI image generator in the catalog still returns a flat, digital-looking frame from a flat, digital-sounding prompt — the camera words are what turn a render into a photograph.
The photoreal leaders
These five are the strongest photoreal engines in the AI image generator catalog, spanning the flagship tier down to production workhorses. Their strengths differ enough that the right choice depends on your subject, not on a ranking — so the practical move is to run two and compare:
| Model | Credits / image | Speed | Why this model here |
|---|---|---|---|
| Nano Banana Pro | 36 | ~5s | The current ceiling for realism — detail, skin texture and material rendering are all strongest here, and it edits as well as it generates. |
| Imagen 4 | 10 | ~6s | Positioned squarely at photoreal output, with the best quality-per-credit of the leaders for everyday photographic work. |
| Krea 2 Large | 15 | ~8s | Photoreal output with style-reference support — the pick when an image has to match a look you already have. |
| Seedream 5 Pro | 12 | ~8s | Realistic rendering that holds a subject consistent across images, which matters for a shot series or a product set. |
| FLUX.2 [pro] | 8 | ~10s | Production-grade realism at roughly half the cost of the flagship, with reference images for consistency work. |
Credits and speed are pulled live from the catalog, so the table always shows current numbers.
Four photographic prompts to steal
Four working prompts, one per genre — this is the set we run when testing a realistic AI image generator for camera handling. Each names a focal length, a light source and a rendering character; that trio is the whole trick.
Portrait
“85mm portrait of a chef in a dim kitchen, window light from the left, flour dust in the air, shallow depth of field, Kodak Portra 400 look”
Street
“35mm street photograph, rainy Tokyo crosswalk at night, neon reflections on wet asphalt, motion blur pedestrians, candid”
Still life
“Overhead still life of sliced bread and butter on a worn wooden table, north-window daylight, muted tones, editorial food photography”
Product light
“Close-up of a frosted glass perfume bottle, one hard key light, black background, water droplets, commercial photography”
Run the chef prompt through a realistic AI image generator comparison and the differences show up exactly where you would expect: one model wins on the skin, another on the falloff of that window light, and the third gets the flour dust right. Your subject picks the winner.
Turn your own photo photoreal
If you already have the photo, the job is an edit rather than a generation — and for most people searching for a free way to convert an image to realistic AI, this is the workflow they actually want. Upload the picture to the AI image editor and describe the change: improve the lighting, replace the background, sharpen the product, restage the scene. The composition you shot is kept; only the parts you name are altered.
The comparison habit applies here too. Reference-image edits vary more between models than plain generations do, because each engine interprets an instruction like "relight this" differently. Run the same edit on two models before you settle on one realistic AI image generator for a batch.
The tells — and why comparison is the fix
Every photoreal image has failure modes, and they are consistent enough to check for by name. Hands remain the classic tell: fingers merge, lengths disagree, or the count is simply wrong. Reflections and mirrors rarely carry the right geometry. Small text on signage, labels and packaging tends to dissolve into plausible-looking nonsense. Repeating textures — brick, tiles, fabric weave — drift and smear in ways the eye catches immediately.
None of these are solved by prompt wording alone, because they are distribution problems rather than instruction problems. What does solve them, practically, is the same move this whole page is built around: run two or three models on the same prompt and keep the frame with no visible tell. A realistic AI image generator that gets four attempts at the same scene will almost always beat one that gets a single attempt and a retry loop.
If you want the underlying method for that — how to set up a fair multi-model comparison, what to hold constant, how to read the results — the comparing multiple models fairly guide covers it end to end.
Three tips for more realistic images
Describe the light, not the camera brand. A model's response to "softbox" or "golden hour" is far more stable than its response to a specific camera name — light is the variable it has actually learned to render. The brand word adds flavor; the light word does the work.
Test skin on two or three models before going full resolution. Portrait realism lives and dies on skin texture, and engines differ sharply there. Settle the model with cheap tests, then spend the resolution budget on the winner rather than discovering the mismatch at the end.
Treat the tells as a checklist, not a vibe. Before you accept an image, zoom in on hands, mirrors, text and repeating textures. A realistic AI image generator that passes that checklist is worth keeping; one that only looks right at thumbnail size is not.
Free to start, then pay per image
Pricing is pay-as-you-go: one credit balance works across every model, from 1-credit drafts to premium flagships.
Photoreal work sits at the expensive end of the catalog, which makes the starting balance matter more here than anywhere else: 10 free credits, no card required, about 30 seconds to sign up with email or Google. That is enough to run the same prompt on two leaders of the realistic AI image generator line-up and see the skin and light differences for yourself before spending a credit of your own.
After that it is pay-as-you-go across all 29 models on one balance — from 1 credit on draft engines up to 36 on the flagship tier. Photographers tend to scout framing and light on the cheap models and spend flagship credits only on the final frame, which is the same draft-cheap, finish-premium rhythm that keeps any studio affordable.
Frequently asked questions
What is the most realistic AI image generator?
There is no single answer, and the honest version is that the leaders are close: the Nano Banana family and FLUX line recur most in community discussion, with different strengths — skin texture, atmosphere, small text. For portraits Nano Banana Pro is the usual starting point; for production work at lower cost, FLUX.2 Pro. Run your own prompt through two of them; the table above is the shortlist.
Is there a free realistic AI image generator?
Every new account starts with 10 free credits, no card required. Photoreal flagships cost the most per image in the catalog, so the free balance is enough for a couple of genuine comparison runs rather than a production session — which is exactly what you want to spend it on, since the model decision is the expensive one to get wrong.
How do I make AI images look more realistic?
Write camera language instead of adjectives. Name a focal length, a light source, a depth of field and a film character — "85mm portrait, window light from the left, shallow depth of field" — and the image gains the cues that read as photographic. Beyond that, choose the right model for the subject and compare before committing.
Why do hands still look wrong?
Hands are a training-distribution problem: they are small, vary enormously in pose, and are often occluded in real photographs, so models learn a blurry average rather than a precise structure. The practical fix is not a prompt incantation but selection — ask a realistic AI image generator for the same scene on two or three models and keep the frame where the hands hold up.
Can I make an existing photo look professional?
Yes — upload it to the AI image editor and describe the change: improve the light, replace the background, restage the scene, sharpen the product. The composition you shot is preserved and only the parts you name are altered, which makes it a fast route to a professional-looking image from an ordinary one.
Which is better for portraits — Nano Banana Pro or FLUX.2?
It depends on what you are optimizing for, which is why the honest answer is to look rather than argue. Nano Banana Pro tends to win on fine detail; FLUX.2 Pro is production-grade at a lower cost. The FLUX.2 Pro vs Nano Banana Pro comparison breaks the trade-off down, and running one portrait prompt on both settles it for your subject in a single session.
Generate photorealistic images
The fastest way to know which model gets your idea is to ask all of them. Free credits to start.
Open the studioRelated: FLUX.2 Pro vs Nano Banana Pro · AI image editor