TRY IT ON THIS PAGE
Transparent Image Generator
Write one prompt and run it across every model this page recommends — the Transparent Image Generator studio below starts with them pre-selected. Results land side by side on the same credit balance, and free credits cover your first runs.
FLUX.1 Schnell
1 credits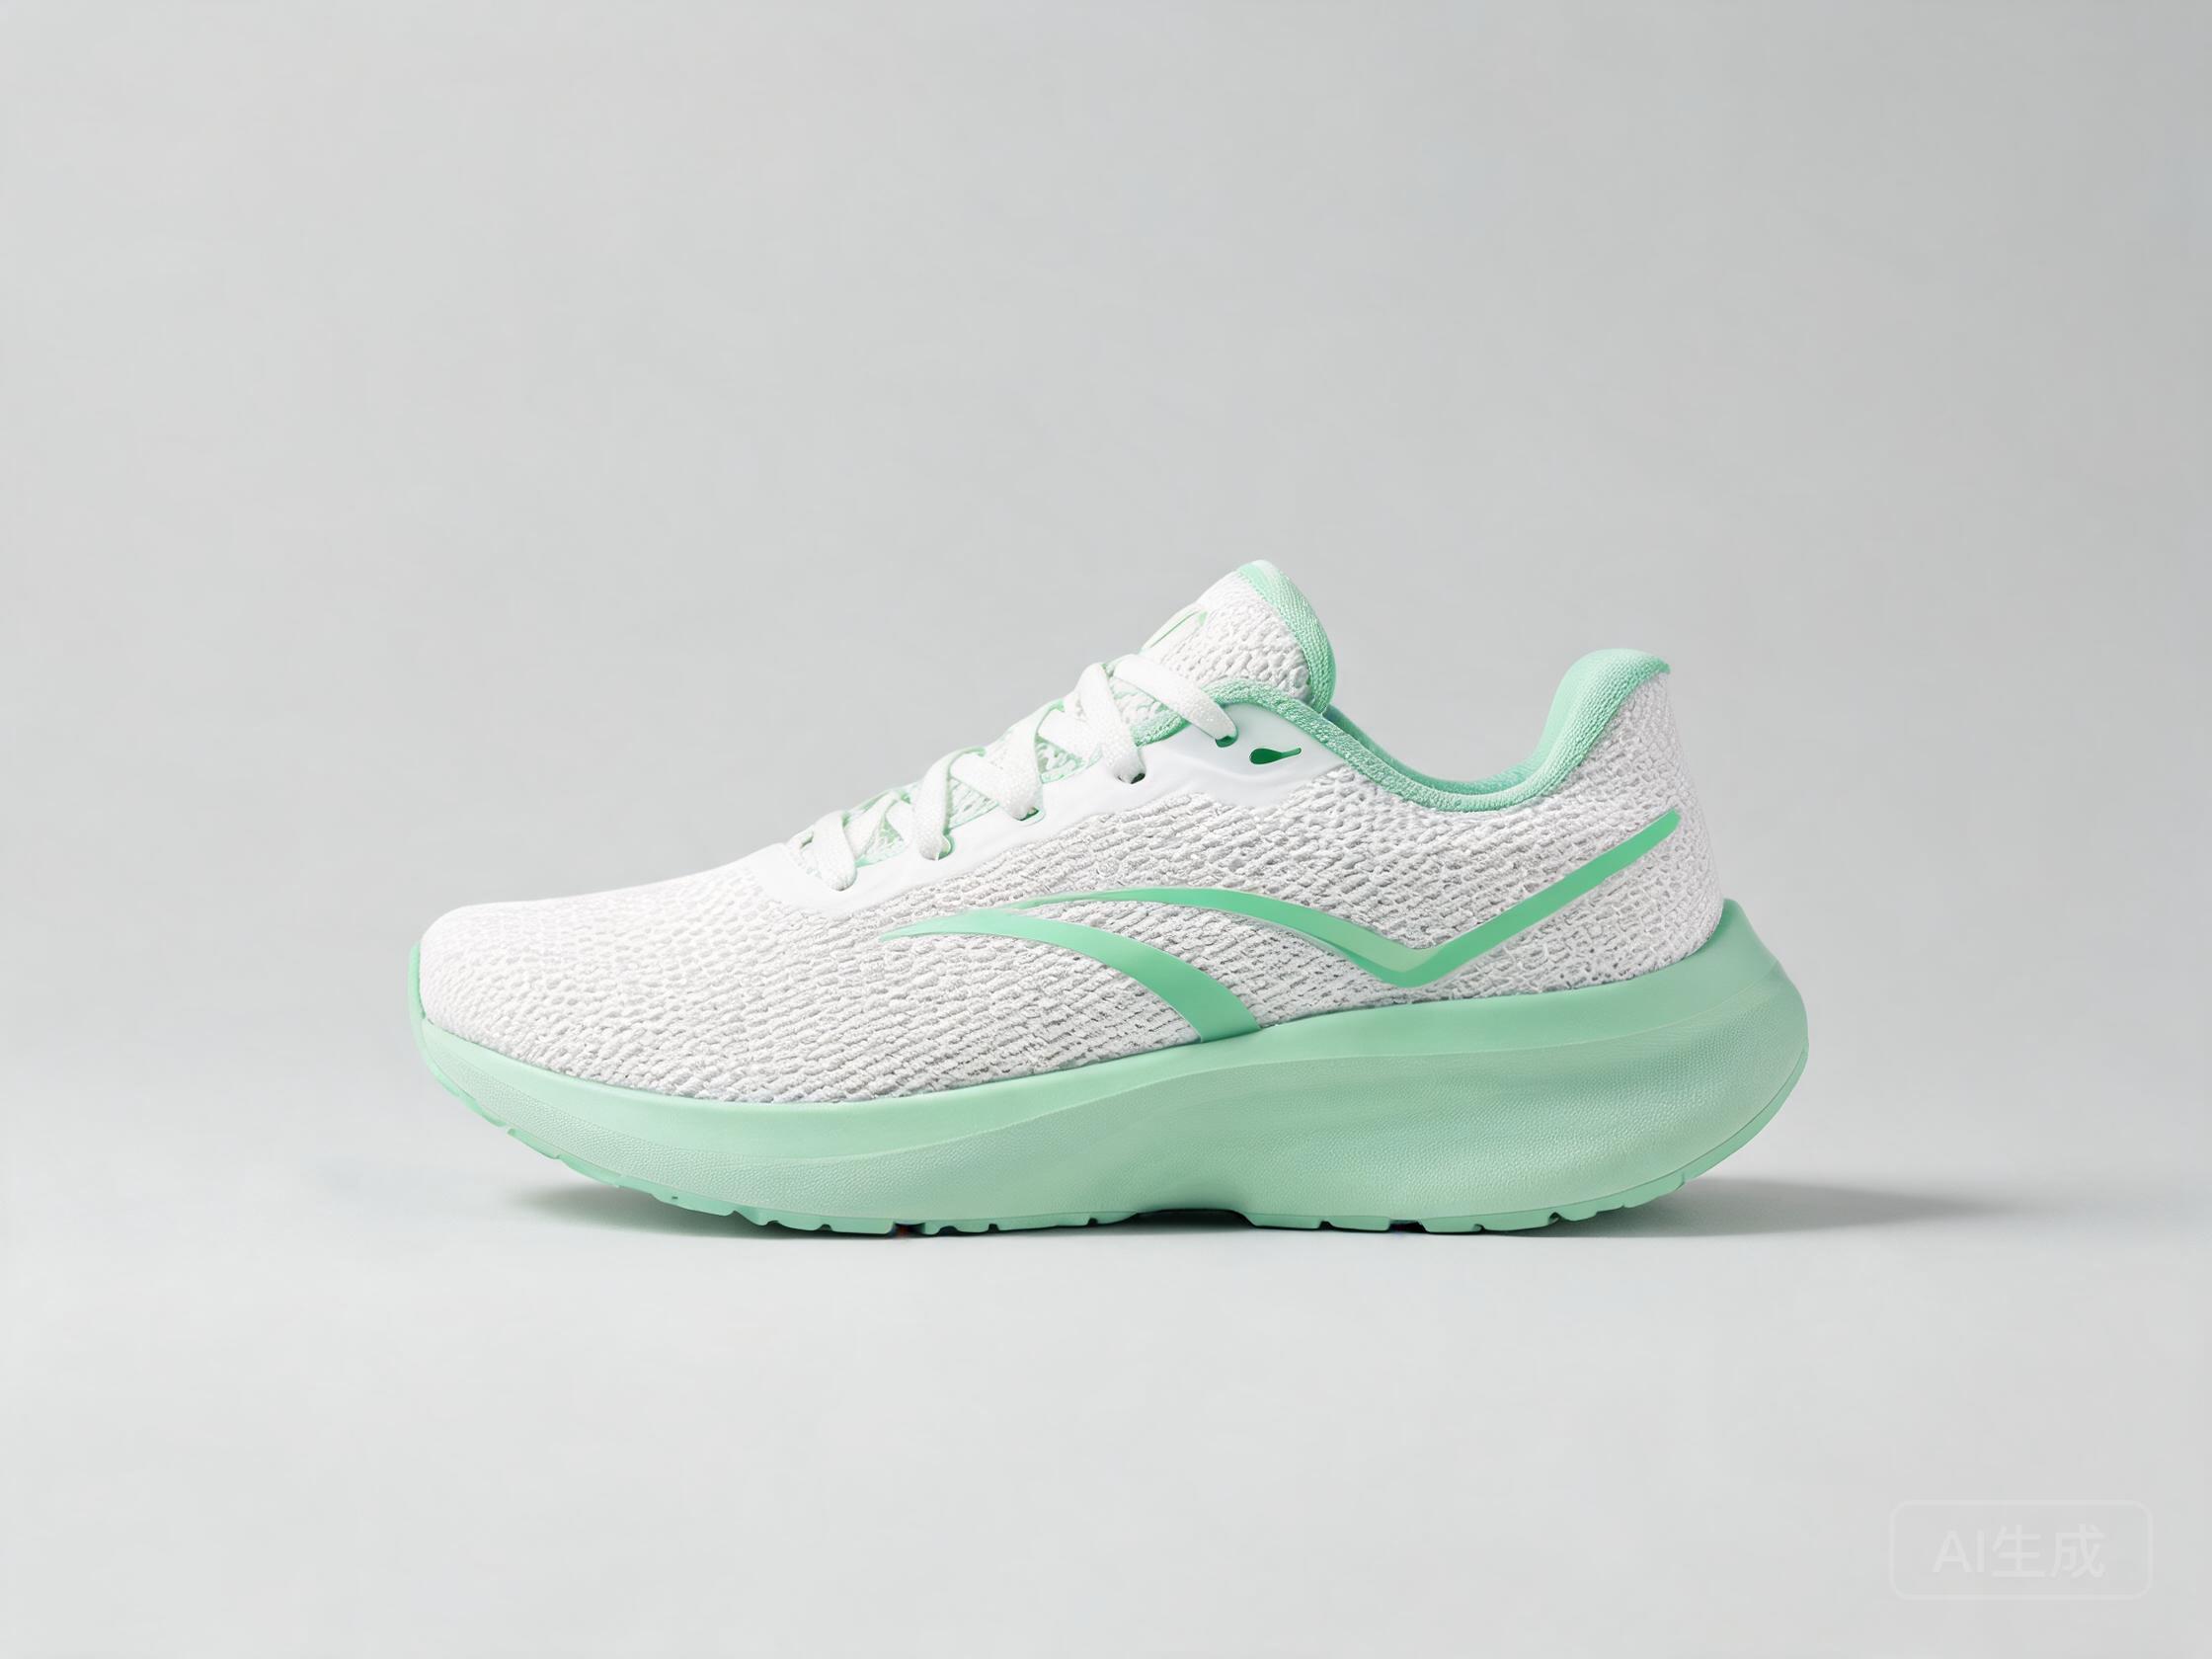
Stability SDXL Base 1.0
2 credits
Lykon DreamShaper 8
2 credits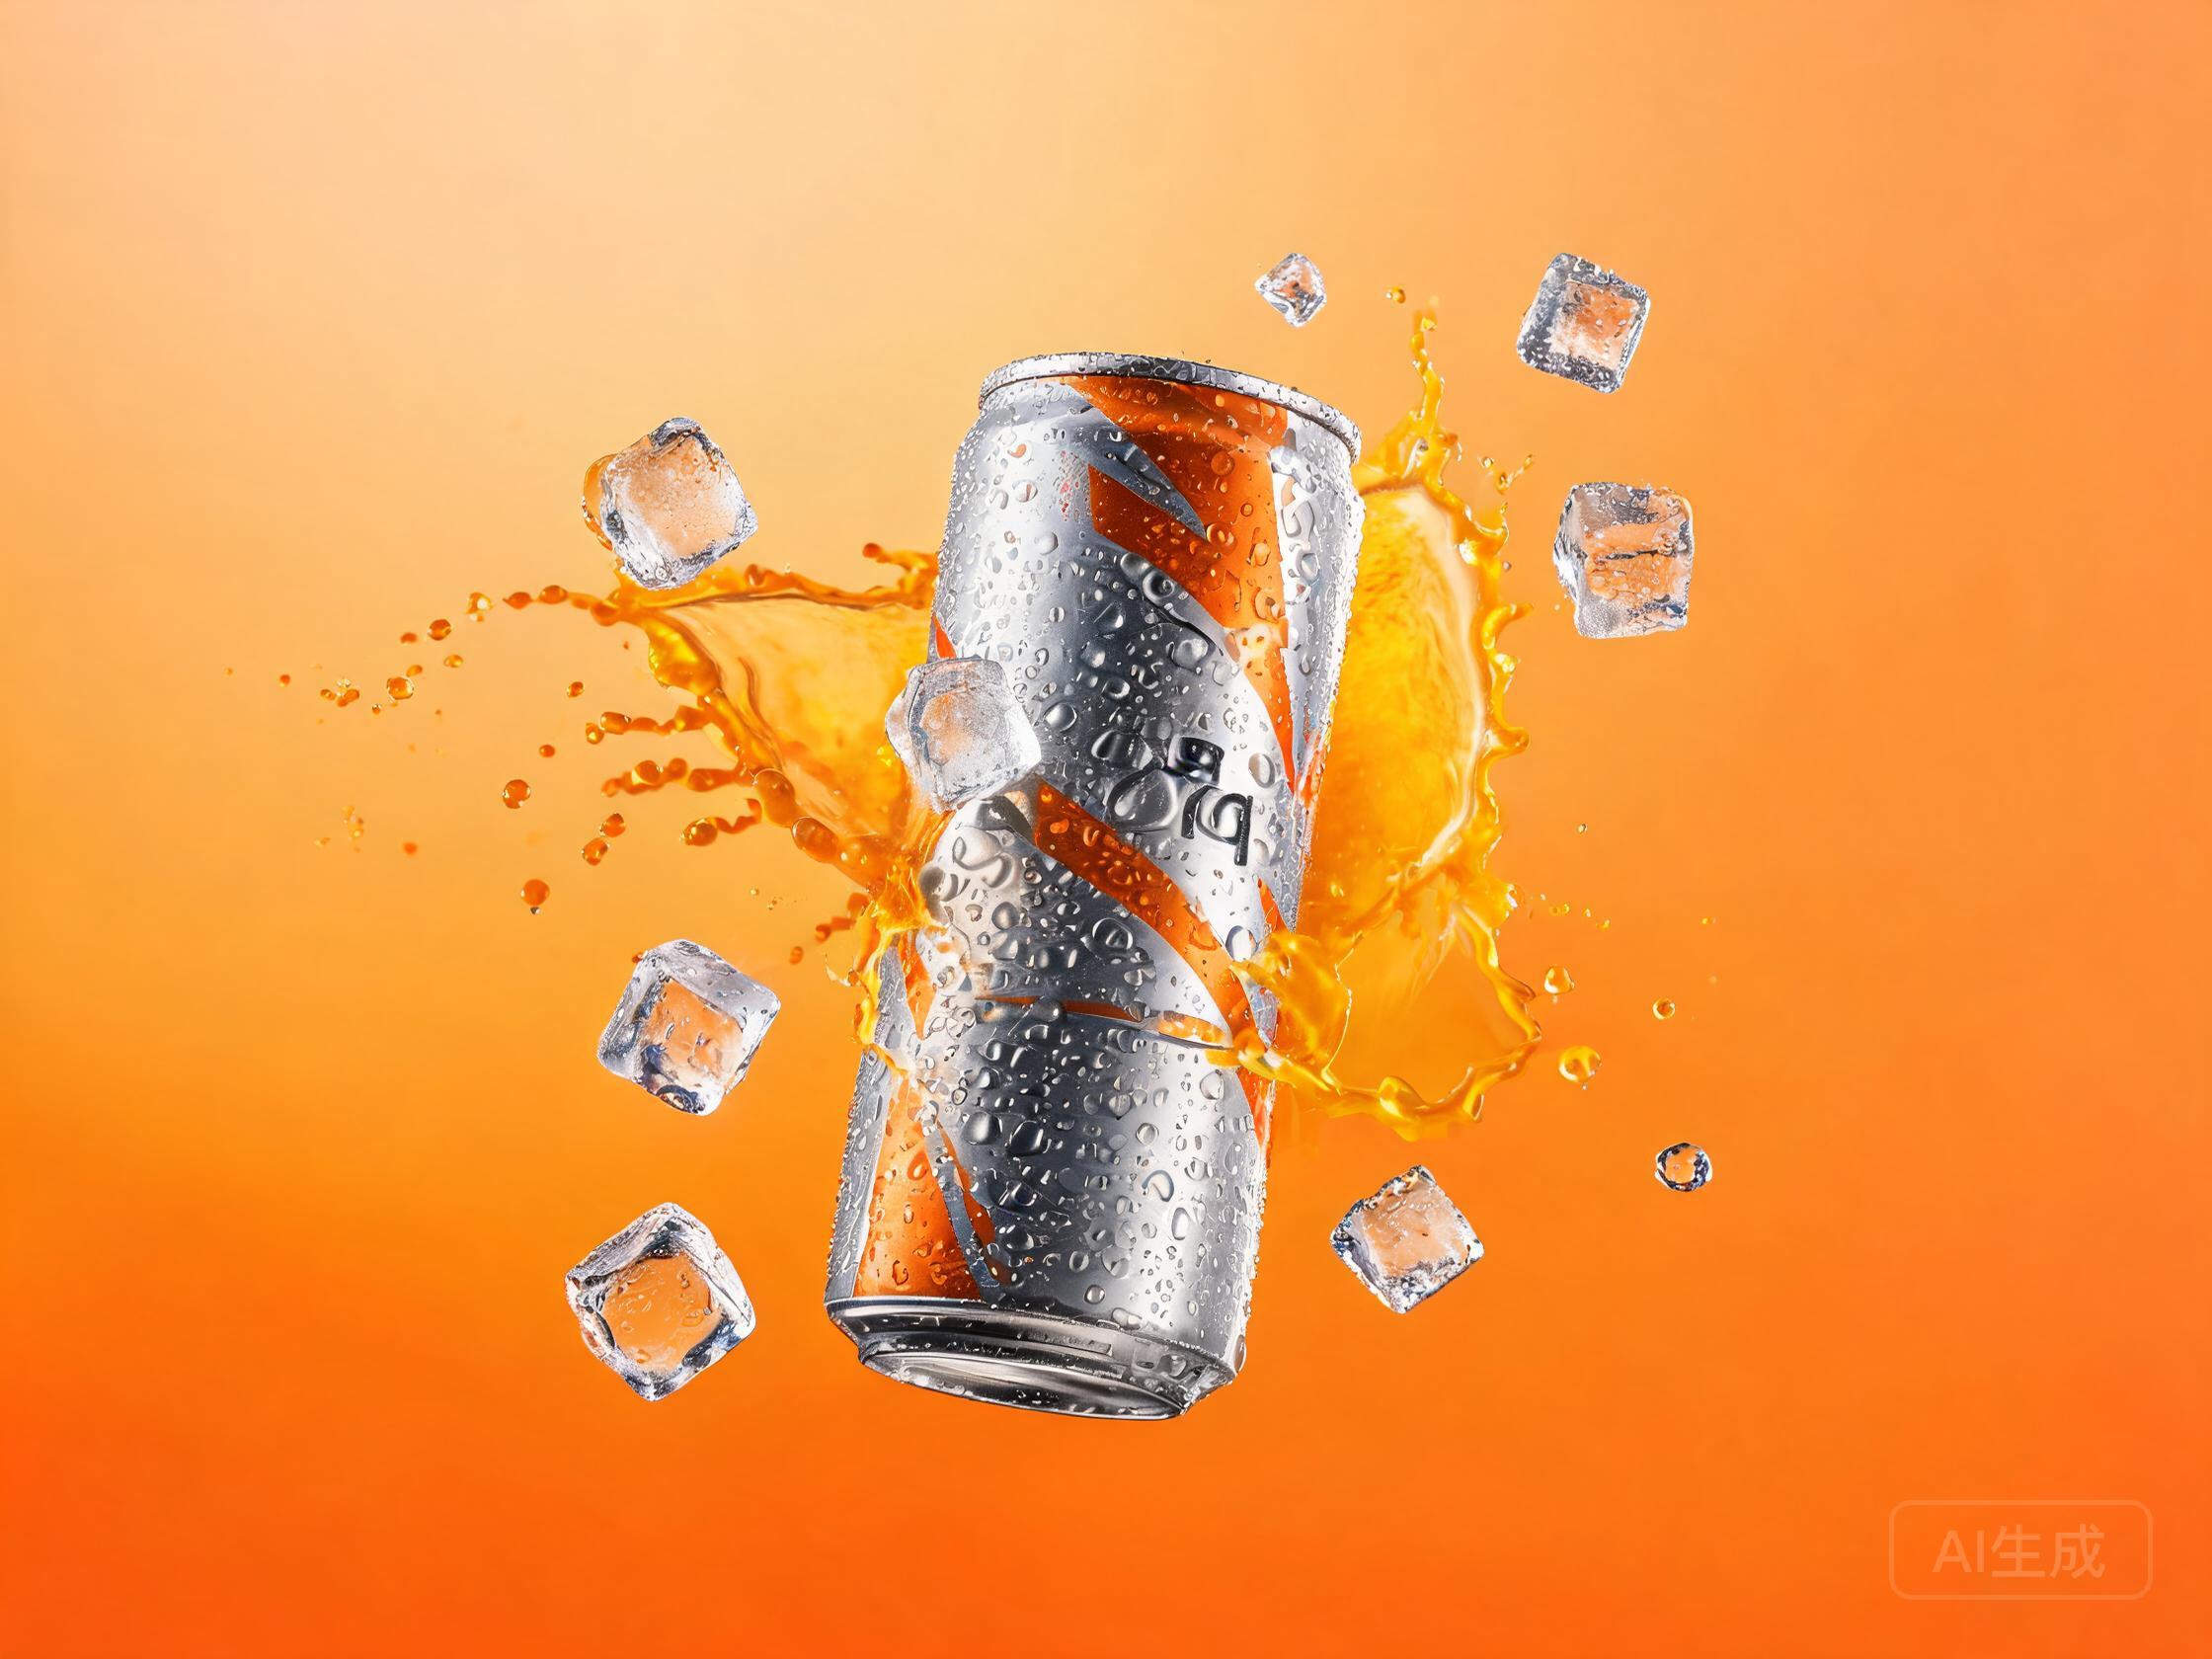
A transparent image generator creates art that is ready to lift straight off the page: logos, stickers, mascots and product cutouts with nothing behind them. Here is the honest technical detail most tools skip — today's text-to-image models draw pixels, and pixels come with a background. The professional workflow is two steps: generate your subject on a clean solid background, then remove that background to export a transparent PNG. UnitPic's job is step one, done well: you write one prompt, run it across up to 29 models, and pick the render with the cleanest edges before you ever spend time on cutout.
Every new account starts with free credits — no card required — so you can test the full workflow before paying anything. Because every model draws edges differently, the comparison is cheap insurance for the cutout step: run one prompt on two or three models, and remove the background only from the render with the cleanest silhouette.
Published September 19, 2026 · Updated September 24, 2026
STEP 1
Describe the cutout
The core habit of every good transparent image generator prompt: name the subject, name the style, then close with an instruction like "isolated on a solid green background". The solid color is not decoration — it is what makes the subject separable onto a transparent background in step three.
STEP 2
Compare on solid backgrounds
Send the same prompt to two or three models at once. Every result lands side by side on the same background color, so edge cleanliness — stray pixels, halos, blur — is the only thing left to judge. That side-by-side comparison is where a transparent image generator earns its keep.
STEP 3
Remove the background
Take the winning render into any background-removal tool, or a one-line editor instruction, and export a transparent PNG with a real alpha channel. Generation already did the hard part: handing the cutter a clean silhouette.
Why AI generators can't output transparency directly
Text-to-image models output a grid of pixels — a JPG or PNG with a color assigned to every position. Transparency lives in a separate alpha channel, and a transparent background is not something the model draws — it is something a removal step creates by deciding which pixels belong to the subject. Even the strongest models stop at that limit: GPT Image 2, one of the most capable editing models in our catalog, is explicitly listed as not supporting transparent background output. Any tool that promises one-click alpha from a text prompt is running that removal for you behind the curtain.
So what a transparent image generator actually controls is everything before the cutout: how clean the subject's edges are, how well it separates from its background, and how little retouching the removal will need. This page is about that generation side — the part that decides whether the export takes one click or one hour. For the wider catalog, see the AI image generator hub; this page is its cutout corner.
The solid-background trick that makes cutouts painless
A cutout is only as good as the contrast between subject and background. Pure white, bright green and magenta are the classic choices because removal tools can key them out into a transparent background cleanly — provided the color never appears inside the subject itself. Edge problems all have names worth knowing: a halo is background light bleeding around the silhouette, a fringe is leftover background pixels along the edge, and anti-aliasing is the soft transition the model draws for you — the one part that should survive the cut.
Pick a color absent from the subject. A green background under a green product gives the removal tool nothing to key on; contrast is the entire trick.
Match brightness to the destination. Cutouts headed for dark interfaces test best against mid-gray; sticker sheets and print previews favor white.
Put the background in the prompt, not in post. Generating on the right solid is what a transparent background workflow actually controls — rescuing a busy scene later is slow and rarely clean.
The five models worth testing in this transparent image generator
Edge quality varies more between models than most people expect, and a transparent image generator is only as good as its cleanest render. These five cover the range — budget iteration, graphic-sharp flagships, and one honest counter-example. Credits and speed update live from the catalog, so the table below never goes stale.
| Model | Credits / image | Speed | Why this model here |
|---|---|---|---|
| FLUX.1 Schnell | 1 | ~2s | The fastest iteration loop in the catalog — ideal for testing subjects and background colors before committing to a final render |
| DreamShaper 8 LCM | 2 | ~6s | Clean character lines and crisp silhouettes — the budget pick for stickers and mascots |
| Stable Diffusion XL Base 1.0 | 2 | ~8s | The open-source classic, reliable at separating subjects on solid backgrounds |
| Nano Banana 2 | 18 | ~4s | Sharpest edges on flat graphic styles — logos and icons come out with minimal cutout residue |
| GPT Image 2 | 10 | ~8s | The counter-example: our catalog notes it does not output transparent backgrounds — which is exactly why the two-step workflow exists |
The studio always shows the exact credit total before a generation runs — no surprises mid-workflow.
What people actually make with it
Four real prompts from the transparent image generator workflow — sticker, logo, sprite and product silhouette. Each one ends with the background instruction that makes the PNG cutout painless.
Die-cut sticker
“A cute axolotl mascot holding a boba tea, bold outlines, flat kawaii sticker style, thick white border, isolated on a solid bright green background”
Logo mark
“Minimal geometric mountain logo, single indigo color, thick clean strokes, flat vector look, centered, isolated on a solid white background”
Game sprite
“Pixel-art knight character, front idle pose, 32-bit era style, crisp pixels, isolated on a solid magenta background”
Product silhouette
“Single red high-top sneaker, side profile, studio lighting, sharp edges, isolated on a solid light gray background”
Same workflow, four destinations, one rule throughout: the subject renders, the solid background carries the contrast, and the removal step finishes the job. For deeper prompt craft, see how to write image prompts.
Transparent PNG vs. plain white background
Not every asset actually needs alpha. Print almost always lands on white paper, and many marketplaces require a pure white background anyway — for those, generating on white and skipping the cutout entirely is the faster path. A transparent PNG becomes non-negotiable the moment the image has to sit on top of something: stickers, slide decks, video overlays, game assets, or any page whose background is not flat white.
The test is simple — does the background have to disappear? If yes, the transparent image generator workflow ends with an alpha export; if no, the white-background render is already the deliverable, and every credit that would have gone to retouching goes to another generation instead.
Three tips for cleaner cutouts
Write the background into the prompt. An explicit "isolated on a solid green background" at the tail of the prompt is steadier than trying to manufacture a transparent background out of a busy scene afterward — models follow concrete background instructions well.
Gray edges mean background bleed. When the cutout's outline picks up the background color, switch to a higher-contrast solid and regenerate — one more image beats ten minutes of eraser work.
Starting from an existing photo? Put it through the AI image editor first and instruct the model to replace the background with a solid color — then cut. Reference-image models handle that swap directly.
Free to start, then pay per image
Pricing is pay-as-you-go: one credit balance works across every model, from 1-credit drafts to premium flagships.
Cutout work rewards cheap iteration. Background-color tests and subject swaps cost 1 credit an image on the budget models, so an afternoon of refining a sticker or logo costs less than a single flagship render.
The removal step itself happens outside UnitPic and costs nothing, which makes generation the only metered part of a transparent image generator workflow. New accounts start with 10 free credits — enough to run the whole pipeline on the cheap models, end to end.
Frequently asked questions
Can an AI image generator make transparent PNGs directly?
Almost none can. Text-to-image models output pixel grids, and the alpha channel has to be added by a removal step afterwards — even GPT Image 2 does not output transparent backgrounds, despite being one of the strongest editing models available. A transparent image generator is therefore a two-step workflow: generate on a solid background, then cut. The good news is that step one decides how painless the final PNG cutout will be.
What background color is best for cutouts?
The best transparent background starts as a solid the subject does not contain — bright green or magenta for most artwork, pure white for dark subjects, mid-gray when the cutout is destined for a dark page. If the model bleeds the background color into the subject's edges, switch colors and regenerate rather than retouching. Contrast, not the specific hue, is what the removal tool keys on.
Is this transparent image generator free?
To start, yes — a new account gets 10 free credits with no card required, and the budget models in the table above cost as little as 1 credit per image. That is a full sticker or logo iteration session before the first top-up. After that, each image simply deducts from one shared balance.
Which model gives the cleanest edges?
There is no single answer — it depends on the style. Flat graphic work like logos and icons comes out sharpest on Nano Banana 2, character art with clean lines favors DreamShaper 8, and the only reliable test in a transparent image generator is running your actual subject on two or three models side by side. The table above is the shortlist to start from.
Can I turn an existing photo into a transparent PNG?
Yes. Upload the photo to the AI image editor and instruct the model to replace the background with a solid color — reference-image models keep the subject intact. Once the photo sits on a clean solid, the same removal step exports it as a transparent PNG.
PNG or SVG?
PNG is a raster format — pixels — and pixels are what AI models produce. SVG is vector: infinitely scalable, ideal for a logo that must print on anything from a business card to a billboard. If you need true vectors, generate the clean raster first, then trace it in a dedicated vector tool — the transparent image generator side of the workflow produces the cutout, not the curves.
Open the generator — free credits
The fastest way to know which model gets your idea is to ask all of them. Free credits to start.
Open the studioRelated: meme sticker recipes